...
In Revit, go to the Add-Ins tab on the ribbon and click the Print & Export button in the Xrev Transmit panel.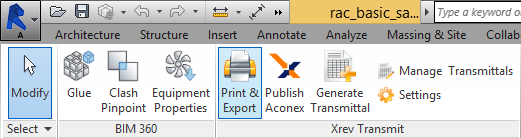
...
This will display the Print & Export Wizard.
...
You are now on the Ready to Issue step. This step provides a final confirmation before starting to print & export documents.
Click Issue to begin printing and exporting.
...
Navigate to your designated Output Location to see all the files that have been generated to your standards!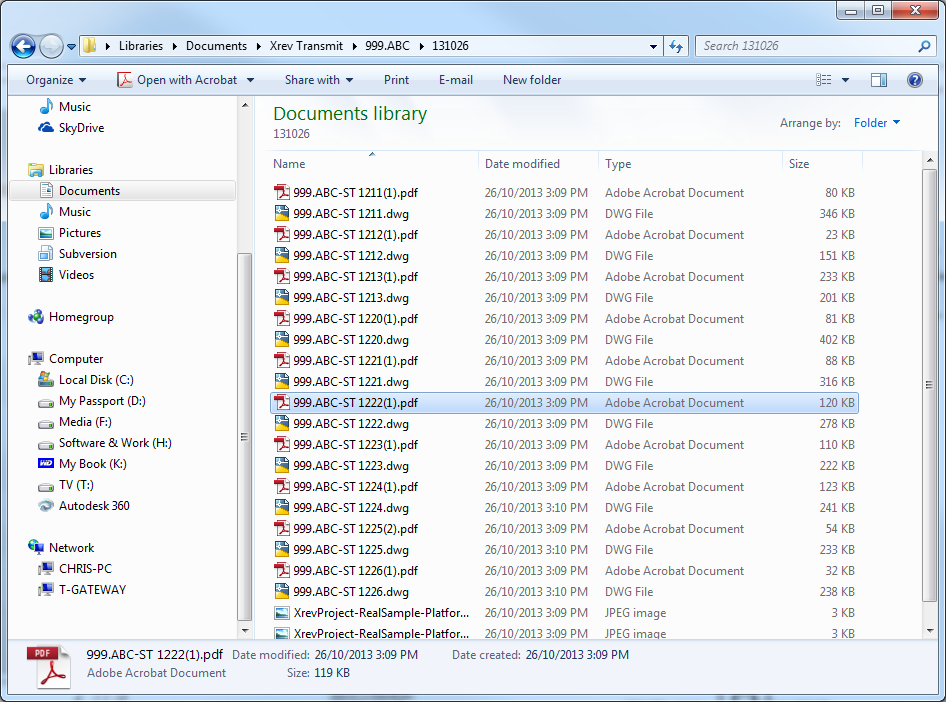
...
Now that our files have been created we may want to generate a transmittal to attach to our document issue.
...
In Revit, go to the Add-Ins tab on the ribbon and click the Generate Transmittal button in the Xrev Transmit panel.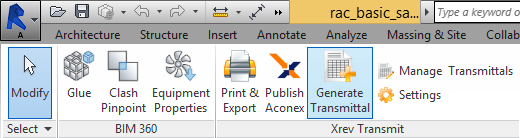
...
This will display the Transmittal Wizard.
...
Open your transmittal to verify that it has been generated correctly. Your
...
Your drawings are now created and you have a transmittal to accompany them! Congratulations on completing your first issue with Xrev Transmit!